


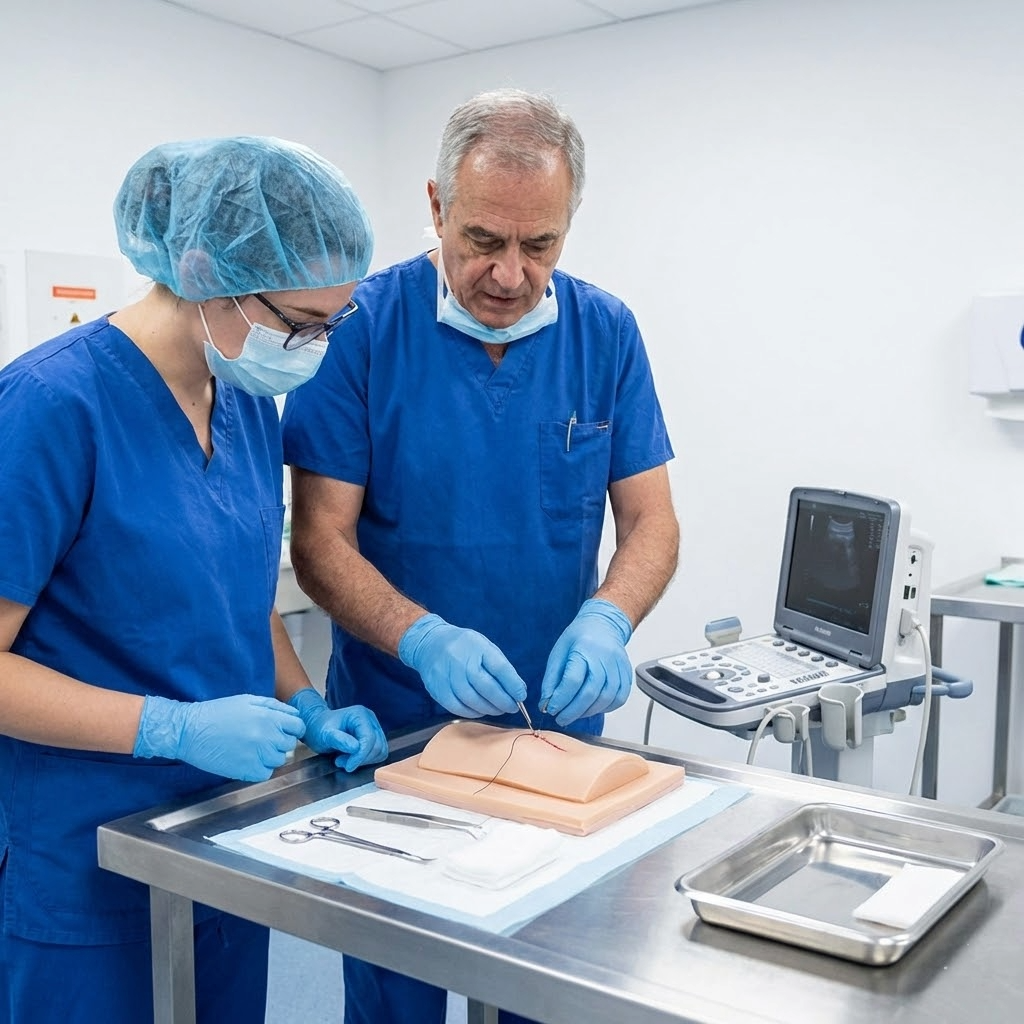
- Correct consent and explanation of the procedure
- Strict adherence to aseptic non-touch technique (ANTT)
- Correct identification of anatomical landmarks
- Safe and confident catheter insertion technique
- Correct balloon inflation and confirmation of placement
- Patient comfort, dignity, and communication throughout
Equipment Item | Why It Matters |
Catheterisation pack (sterile field, drapes, gauze) | Establishes your sterile field — setting this up correctly signals competence |
Appropriate catheter size (12–14 Fr for routine) | Selecting the correct size shows clinical knowledge |
10 mL sterile water for balloon inflation | Never use saline — it crystallises and can block the balloon valve |
Sterile gloves | Must be donned without contaminating the outer surface |
Antiseptic solution (chlorhexidine or normal saline) | Used to clean the urethral meatus |
Lignocaine gel (anaesthetic lubricant) | Mandatory for male catheterisation; good practice in females |
Drainage bag | Must be attached and secured below bladder level |
✓ | Step | What Examiners Are Looking For |
☐ | Introduce & ID | Greet the patient, confirm name and DOB, establish rapport |
☐ | Explain & Consent | Explain the procedure clearly in lay terms, state risks (UTI, trauma, discomfort), obtain verbal consent |
☐ | Privacy & Dignity | Ensure curtains are drawn, expose only what is necessary, maintain patient comfort throughout |
☐ | Hand Hygiene | Wash hands or use alcohol gel before opening any equipment |
☐ | Prepare Equipment | Open catheter pack aseptically onto sterile field, arrange equipment without contaminating |
☐ | Don Sterile Gloves | Apply without touching the outer surface |
☐ | Clean the Meatus | Clean with antiseptic in a front-to-back motion for females; retract foreskin and clean in circular motion (inside out) for males |
☐ | Apply Lubricant | Instil lignocaine gel into the urethra (males: wait 3–5 mins); apply gel to catheter tip for females |
☐ | Insert Catheter | Insert gently using non-touch technique — advance until urine flows for females; advance to the bifurcation for males before inflating balloon |
☐ | Confirm Placement | Wait for urine to drain freely before inflating balloon — never inflate if resistance felt or no urine draining |
☐ | Inflate Balloon | Inflate with 10 mL sterile water, gently retract to confirm anchoring |
☐ | Secure & Connect | Connect to drainage bag, secure catheter to inner thigh, ensure bag is below bladder |
☐ | Restore Foreskin | Replace foreskin in uncircumcised males — failure causes paraphimosis |
☐ | Document & Explain | Note residual volume, catheter size, batch number; explain aftercare to patient |
☐ | Hand Hygiene | Final hand wash after removing gloves and disposing of waste |
 Examiner Tip: For male catheterisation, always advance the catheter to the bifurcation (the Y-junction) before inflating the balloon – inflating in the urethra causes severe injury.
Examiner Tip: Verbally narrate what you are doing as you go. Examiners mark what they can see AND hear.
Examiner Tip: If you accidentally contaminate your sterile field, stop and request a new pack. Examiners reward self-awareness.
 Common Mistake: Inflating the balloon before seeing urine drain – this is one of the most serious errors in this station.
Common Mistake: Forgetting to replace the foreskin after catheterising uncircumcised males – this can cause paraphimosis, a urological emergency.
Common Mistake: Touching the catheter shaft with contaminated fingers – any breach of ANTT will cost significant marks.
Common Mistake: Failing to explain the procedure before starting – consent is as important as technique in the OSCE.
Parameter | Current Australian Guideline |
Who is screened? | Women and people with a cervix aged 25–74 who have ever been sexually active |
Screening interval | Every 5 years (previously every 2 years with Pap smear) |
Test type | Cervical Screening Test (CST) — liquid-based cytology + HPV co-testing |
First screen age | 25 years (previously 18 or 2 years after first sexual activity) |
Exit screen | At age 74 if last screen was normal; those aged 70–74 are offered a final test |
Self-collection | Available since 2022 for eligible patients who are overdue or unlikely to undergo clinician-collected test |
💡 Examiner Tip: Knowing that Australia uses the CST (not Pap smear) and screens every 5 years from age 25 is an immediate differentiator in the OSCE. Many IMGs incorrectly describe outdated protocols.
- Knowledge of current Australian screening guidelines
- Ability to explain the procedure sensitively and obtain informed consent
- Correct patient positioning and preparation
- Correct speculum insertion and visualisation of the cervix
- Correct sampling technique using the liquid-based cytology (LBC) brush
- Correct sample preservation and labelling
- Communication, sensitivity, and patient dignity throughout
• Bivalve (Cusco) speculum – choose appropriate size (small, medium, or large)
• Liquid-based cytology collection brush (Cervex-Brush or Rovers Cervex-Brush Combi)
• LBC vial (e.g., ThinPrep or SurePath) with preservative solution
• Good light source
• Gloves (non-sterile)
• Water-based lubricant (applied to the outer blades only, not the tip – lubricant can interfere with the sample)
✓ | Step | What Examiners Are Looking For |
☐ | Introduce & ID | Greet patient warmly, confirm identity, acknowledge this may be a sensitive procedure |
☐ | Explain Procedure | Explain what the CST involves, why it is recommended, and what to expect (mild discomfort, pressure) |
☐ | Explain the Guidelines | Mention that in Australia, screening is recommended every 5 years from age 25, and the test checks for HPV and cell changes |
☐ | Discuss & Consent | Address any concerns, answer questions, obtain verbal consent. Ask about: last period, pregnancy, previous abnormal results, contraception |
☐ | Privacy & Positioning | Offer a chaperone. Provide a sheet. Ask patient to undress from the waist down and lie in dorsal or left lateral position |
☐ | Hand Hygiene & Gloves | Wash hands, don non-sterile gloves |
☐ | Prepare Equipment | Select appropriate speculum size, warm the speculum with water (not lubricant), have LBC vial open and labelled |
☐ | Insert Speculum | Part the labia, insert speculum at 45° angle downward, rotate to horizontal, open blades to visualise the cervix |
☐ | Visualise Cervix | Identify the transformation zone (squamo-columnar junction) — this is where sampling must occur |
☐ | Collect Sample | Insert brush into the os, rotate 5 times clockwise. Ensure the outer bristles contact the ectocervix throughout |
☐ | Preserve Sample | Rinse or detach the brush head into the LBC vial according to the device instructions. Do not wipe the brush on the vial rim |
☐ | Remove Speculum | Close blades slightly, rotate, and withdraw gently. Warn the patient before removal |
☐ | Label & Request | Label the vial at the bedside with patient details. Complete the pathology request form including clinical information |
☐ | Debrief Patient | Explain when results will be available, what a normal/abnormal result means, and when to re-screen |
☐ | Document | Record the procedure in clinical notes including date, indication, and findings |
In the OSCE, how you communicate is as important as what you do. Practice saying something like:
“Today I’d like to perform a Cervical Screening Test. This is a routine check that looks for a virus called HPV, which can sometimes cause changes to the cells on your cervix. We recommend this every five years for women from age 25. I’ll use a small instrument called a speculum to gently open the vagina so I can see the cervix, and then I’ll use a soft brush to collect a small sample of cells. It may feel a little uncomfortable but should not be painful. Do you have any questions before we start?”
Examiner Tip: Always offer a chaperone – in Australia this is considered best practice, and failing to offer one is a mark deduction.
Examiner Tip: If you cannot visualise the cervix, state out loud what you would do: ‘I would try repositioning the patient, asking her to place her fists under her buttocks, or using a different speculum size.’
Examiner Tip: Mention self-collection as an option for patients who are overdue or uncomfortable with a clinician-collected test – this shows you are up to date with current Australian practice.
Common Mistake: Describing Pap smear technique or 2-yearly screening intervals – Australia changed to the CST in 2017. Using outdated protocols signals you are not prepared for Australian practice.
Common Mistake: Applying lubricant to the tip of the speculum – lubricant can contaminate the sample. Use water only, or apply lubricant to the outer blades only.
Common Mistake: Not offering a chaperone – this is a patient safety and professional standard issue in Australia.
Common Mistake: Forgetting to label the vial at the bedside before leaving – mislabelled samples are a clinical incident.
- Correct specimen collection technique (midstream urine)
- Proper dipstick technique including timing
- Systematic and accurate interpretation of each parameter
- Ability to link dipstick findings to likely diagnoses
- Knowledge of when further testing is required (MCS, imaging, bloods)
- Clear communication of findings to the patient and proposed next steps
Always instruct the patient on correct midstream urine (MSU) collection technique. This is frequently tested as a communication task within the station.
- Clean the urethral area with a moist wipe (front to back for females)
- Begin urinating into the toilet
- After the initial stream, collect the midstream portion into the specimen cup without stopping
- Replace the lid firmly and label the cup immediately
Examiner Tip: If the patient has a urinary catheter, collect urine from the sampling port – never from the drainage bag.
- Check the expiry date on the dipstick container
- Ensure the urine sample is fresh – dipstick should ideally be performed within 2 hours of collection
- Dip the strip fully into the urine for 1–2 seconds, covering all reagent pads
- Remove and tap the edge (not wipe) against the container rim to remove excess urine
- Hold the strip horizontally and read each parameter at the exact time specified on the container (typically 30–60 seconds per parameter)
- Compare each pad against the colour chart on the container in good lighting
Common Mistake: Do not read the strip flat on a surface – fluid can run between pads and give false results. Always hold it horizontally.
Parameter | Normal Result | Abnormal Result | Clinical Significance |
Leucocytes | Negative | Positive (trace to +++) | Suggests pyuria — UTI, urethritis, pyelonephritis. Can be false-positive with contamination |
Nitrites | Negative | Positive | Gram-negative bacteria (e.g. E. coli) convert nitrates to nitrites. High specificity for bacterial UTI |
Blood (Haematuria) | Negative | Positive (trace to +++) | UTI, urolithiasis, glomerulonephritis, malignancy, trauma. Menstruation can cause false positive |
Protein | Negative / trace | Positive | UTI, glomerular disease, pre-eclampsia, nephrotic syndrome. Trace can be normal after exercise |
Glucose | Negative | Positive | Diabetes mellitus (commonest), pregnancy, renal tubular disease. Requires fasting blood glucose |
Ketones | Negative | Positive | DKA, starvation, prolonged vomiting, low-carbohydrate diet |
Bilirubin | Negative | Positive | Obstructive jaundice, hepatocellular disease. Urine appears dark/tea-coloured |
Urobilinogen | Normal (0.2–1.0) | Elevated | Haemolytic anaemia, hepatitis. Absent in complete biliary obstruction |
pH | 5.0–8.0 | Alkaline (>8) or Acidic (<5) | Alkaline: UTI with urease-producing organisms, renal tubular acidosis. Acidic: high protein diet, DKA |
Specific Gravity | 1.010–1.030 | <1.005 or >1.030 | Low: diabetes insipidus, overhydration. High: dehydration, SIADH, glucosuria |
In the OSCE, you must integrate the dipstick results with the clinical presentation – not just read the numbers. Here are the most common clinical scenarios:
Urinary Tract Infection (UTI)
- Positive leucocytes + positive nitrites = most likely bacterial UTI
- Positive leucocytes alone (negative nitrites) = sterile pyuria – consider chlamydia, TB, partially treated UTI, or contamination
- Blood and protein may also be present
Examiner Tip: If leucocytes and nitrites are both positive in a symptomatic woman under 65, Australian guidelines support empirical antibiotic treatment without waiting for MCS results.
Diabetes Mellitus
- Glycosuria (glucose 2+ or more) in a non-pregnant adult should prompt a fasting blood glucose or HbA1c
- Ketones + glucose = DKA until proven otherwise – this is an emergency
- Glycosuria in pregnancy can be normal – renal threshold for glucose decreases in pregnancy
Haematuria
- Positive blood without leucocytes or nitrites = non-infective cause – consider urolithiasis, malignancy, or glomerulonephritis
- Macroscopic haematuria in a patient over 50 = urological malignancy until proven otherwise – refer urgently
- Microscopic haematuria on two or more occasions warrants urology referral and CT urogram
Proteinuria
- Trace protein can be normal, especially after exercise or fever
- Persistent proteinuria (2+ or more) requires urine albumin-creatinine ratio (ACR) and renal function testing
- Proteinuria + haematuria + hypertension = glomerulonephritis until proven otherwise
- Significant proteinuria in pregnancy should raise suspicion for pre-eclampsia
✓ | Step | What Examiners Are Looking For |
☐ | Introduce & ID | Confirm patient identity and reason for the test |
☐ | Explain the Test | Briefly explain what the dipstick measures and why it is being done |
☐ | Confirm Specimen Quality | Check it is an MSU, freshly collected, correctly labelled, and within 2 hours |
☐ | Check Dipstick Expiry | Check expiry date on the container before use |
☐ | Visual Inspection First | Note the colour and clarity of urine: dark = concentrated or bilirubin; cloudy = infection; red = haematuria or myoglobin |
☐ | Perform Dipstick | Dip for 1–2 seconds, tap edge, hold horizontally, read at correct times |
☐ | Systematic Interpretation | Read each parameter from top to bottom: leucocytes, nitrites, blood, protein, glucose, ketones, bilirubin, urobilinogen, pH, specific gravity |
☐ | Integrate with History | Link findings to the patient’s presenting complaint |
☐ | State Likely Diagnosis | Give a most likely diagnosis and differential based on the combined findings and clinical context |
☐ | Propose Next Steps | State what investigations or management you would initiate (MCS, bloods, imaging, empirical treatment, referral) |
☐ | Communicate Results | Explain results to the patient in plain language and outline the next steps |
Examiner Tip: Always perform a visual inspection of the urine first before dipping – this shows clinical thoroughness and examiners notice it.
Examiner Tip: When you present your findings, do not just list each parameter. Group the positive findings and link them to a diagnosis: ‘The positive leucocytes and nitrites together strongly suggest a urinary tract infection, which fits with this patient’s symptoms of dysuria and frequency.’
Examiner Tip: Know the difference between haemolysis (positive dipstick blood, no red cells on microscopy) and true haematuria (positive dipstick + red cells on MCS).
Common Mistake: Reading the dipstick too early or too late – timing matters. Use a clock or count the seconds if needed.
Common Mistake: Presenting each parameter individually without integrating findings – this reads like a checklist, not clinical reasoning.
Common Mistake: Forgetting to mention next steps after interpreting the dipstick – always close with a management plan.
Common Mistake: Not commenting on the visual appearance of the urine before dipping – this is a mark that many candidates miss.